


 수량을 선택해주세요.


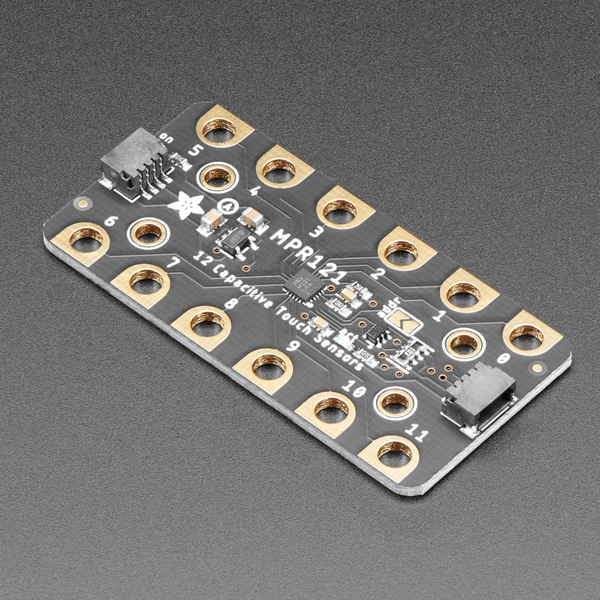
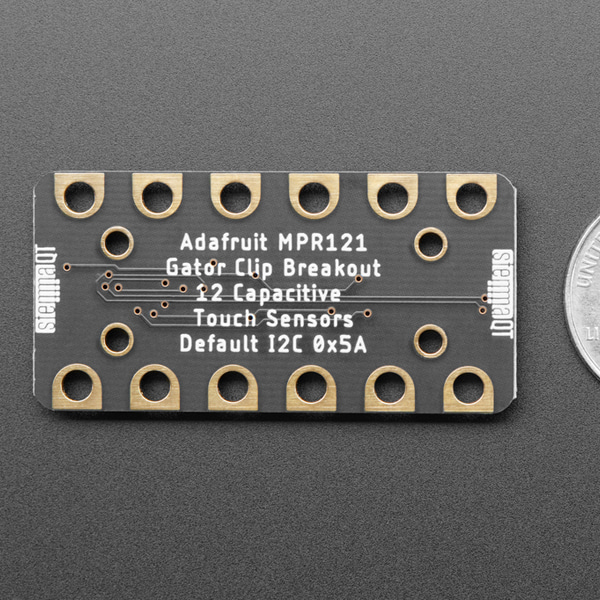
MPR121 12키 정전식 터치 센서 -I2C
(Adafruit MPR121 12-Key Capacitive Touch Sensor Gator Breakout
- STEMMA QT / Qwiic)
개요
- 본 제품은 MPR121 12키 정전식 터치 센서 -I2C 입니다.
- 12 채널 정전식 터치센서로 MPR121 칩을 기반으로 디자인된 제품입니다.
- I2C 연결이 가능한 JST SH 커넥터를 장착하고 있습니다.
- 3V/5V 시스템과 사용이 가능합니다.
특징
- Product Dimensions: 51.0mm x 25.2mm x 4.5mm / 2.0" x 1.0" x 0.2"
-
Add lots of touch sensors to your next microcontroller project with this easy-to-use 12-channel capacitive touch sensor breakout board, starring the MPR121. This chip can handle up to 12 individual touchpads with plug-and-play STEMMA QT connector and large alligator/croc-clip friendly pads, its a no-solder solution to capacitive touch sensing.
The MPR121 has support for reading data over I2C, which can be implemented with nearly any microcontroller. You can select one of 2 addresses with the ADDR pin (solder it close for the alternative address), for a total of 24 capacitive touch pads on one I2C 2-wire bus. Using this chip is a lot easier than doing the capacitive sensing with analog inputs: it handles all the filtering for you and can be configured for more/less sensitivity.
This sensor comes as a tiny hard-to-solder chip so we put it onto a breakout board for you. Since it's a 3V-only chip, we added a 3V regulator and I2C level shifting so it's safe to use with any 3V or 5V microcontroller/processor like Arduino. We even added an LED onto the IRQ line so it will blink when touches are detected, making debugging by sight a bit easier on you.
Comes with a fully assembled board. For contacts, we suggest using copper foil, metallic nylon, or pyralux, then connect up any alligator clip from the conductive material to one of the big pads on the breakout.
To make using it as easy as possible, we've put the MPR121 on a breakout PCB in our Stemma QT form factor with a sprinkle of support circuitry to give you options when testing. You can either use a breadboard or the SparkFun qwiic compatible STEMMA QT connectors, and compatibility with 5V voltage levels as commonly found on Arduinos, as well as 3.3V logic used by many other boards like the Raspberry Pi or our Feathers.QT Cable is not included, but we have a variety in the shop for quick plug-and-play support.
Getting started is a breeze with our Arduino and CircuitPython/Python libraries and tutorials. You'll be up and running in a few minutes, and if you are using another microcontroller, it's easy to port our code.
Of course, we wouldn't leave you with a datasheet and a "good luck!" - we wrote a detailed tutorial showing how to wire up the sensor, use it with an Arduino, and example code that gets the sensor logging data and detecting your touch!